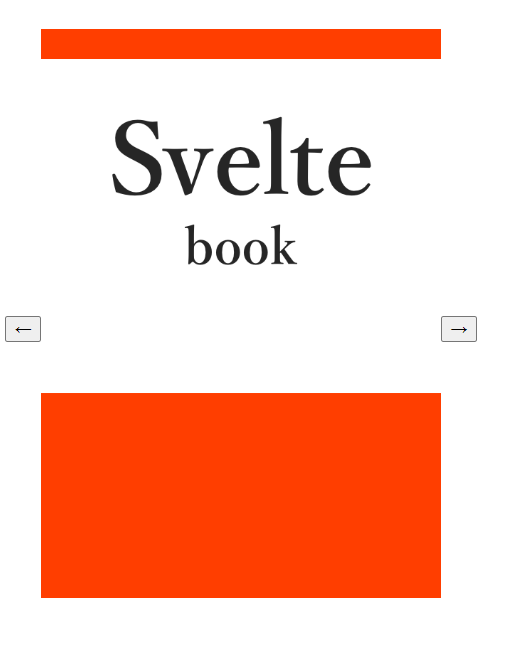
설명은 주석참고

script
let SliderCenterIndex = 0;
  // $: reactive statement로 SliderCenterIndex가 실시간으로 변경됨
  // 처음에 왼쪽 버튼을 누르면 맨마지막인 두번째 인덱스가 위치해야함 2%3 = 2
  $:SliderLeftIndex = (SliderCenterIndex -1 + product.images.length) % product.images.length;
  // 처음 오른쪽버튼을 눌렀을때 다음 위치인 인덱스 1%3 =1
  $:SliderRightIndex = (SliderCenterIndex +1) % product.images.length


  // 왼쪽버튼 클릭시 SliderCenterIndex가 변경되서 SliderLeftIndex에 전달
 function sliderMoveLeft() {
  SliderCenterIndex = (SliderCenterIndex -1 + product.images.length) % product.images.length; // 2%3 =2
 }
   // 오른쪽쪽버튼 클릭시 SliderCenterIndex가 변경되서 SliderRightIndex에 전달
 function sliderMoveRight() {
  SliderCenterIndex = (SliderCenterIndex +1) % product.images.length; // 1%3 =1
 }
html
<main>
  <article class="product">
    <div class="product-main">
      <div class="image-container">
  <div class="slider">
    <img src={product.images[SliderLeftIndex]} alt="sl" class="slider-item left">
    <img src={product.images[SliderCenterIndex]} alt="sc" class="slider-item">
    <img src={product.images[SliderRightIndex]} alt="sr" class="slider-item right">
    <button class="slider-left-button" on:click={sliderMoveLeft}>←</button>
    <button class="slider-right-button" on:click={sliderMoveRight}>→</button>
  </div>
  </div>
  </div>
</article>
</main>
참고한 책
https://www.yes24.com/Product/Goods/125931860
실전 스벨트 & 스벨트킷 입문 - 예스24
MZ 개발자가 사랑하는 스벨트와 스벨트킷으로 UI & 웹 앱 개발 시작하기 단순함을 모티브로 만들어진 스벨트는 실용적이면서도 최소한의 API를 갖춘 세련된 프레임워크로 프런트엔드 개발자들에
www.yes24.com